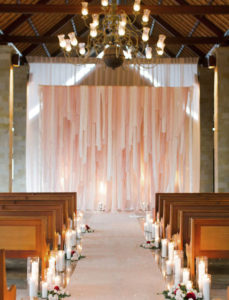
18 Sep DIY Fabric Feature Wall
For the DIY brides out there who love getting inspired, creative and hands on you will love this DIY Fabric Feature Wall project!
Photo booths and photo stations have become almost expected at weddings, with guests being able to have fun and make memories by taking some cute and cheeky snaps with friends, family and the newlyweds. However, if you want to personalise your photo station and take it to the next level, why not create your own unique photography feature wall?
We think you’ll love this easy-to-create DIY Fabric Feature Wall that you can tweak to suit your wedding theme and personal style!
What you’ll need to make your DIY Fabric Feature Wall:
- 1x portable clothes rack (make sure it is wide enough for your desired size)
- Fabric you are happy to cut into strips – ropes and ribbons can also be used
- Scissors
Firstly, see how tall you can make your portable clothes rack – you will want to ensure it can be adjusted to a height that majority of people could fit under. Make sure you assess this when looking for racks to purchase.
Once you have selected your racks, set them to as tall as you think you will need and measure the height. You will need to know this for when you are selecting fabric.
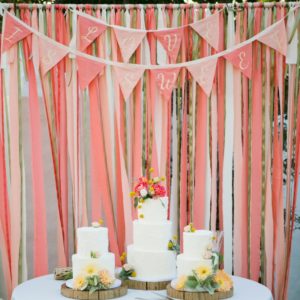
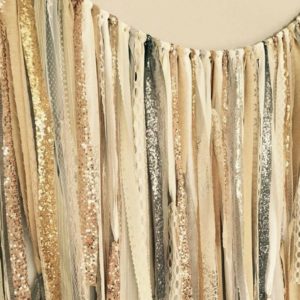
Next is fabric time! Pick out colours and textures that speak to you and suit your wedding theme. You will need to ensure you get fabric that will cover double the height of the rack and add on a little extra length to ensure you have enough, however, fabric lengths can vary as you can see in our inspo images from Green Wedding Shoes below. Try and play with mixing colours and textures that go together to make the wall look more dynamic. You can also look at fabrics you may have at home such as old fabrics, curtains and clothes – get creative!
You will then need to cut your selected fabric into long strips (remember that extra little length!). The width you cut each strip is totally up to you, however, the thinner the strips the more tying you will need to do for the next step.
Now it’s time to start tying! You need to take your fabric strips and knot them to the top of the rack by folding the fabric in half, placing the folded end at the top of your rack and pulling the long lengths of fabric through the loop where the fabric is folded in half. This should loop through and knot at the top of your rack with the fabric dangling and flowing down. You will need to do this for all your fabric strips across the width of the rack. Try to mix up colours so you don’t have big chunks of one colour when tying your knots.
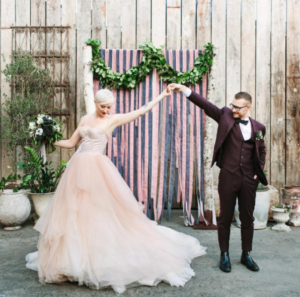
Once you have tied all your fabric to the top of the rack you should have a gorgeous fabric waterfall wall – take some snaps in front of it and test it out! Accessorize by adding flowers, greenery, fairy lights and special features to really create a ‘wow’ factor DIY Feature Fabric Wall.
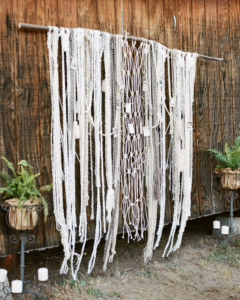
Alternatively, you can create the same look with a long wooden branch with one long piece of fishing wire tied at either end and balancing the fishing wire onto a hook in an existing wall. This creates a more boho and natural look. You can also cut the fabric to different lengths to amp up the texture of your DIY Fabric Feature Wall, as you can see in the inspo images below.
Check out this stunning inspo from Green Wedding Shoes @greenweddingshoes who have great wedding inspiration! We love the unique look of each different fabric wall.
We can’t wait to see what you all create! Tell us how you go when creating your DIY Fabric Feature Wall by tagging @bridalexposau in your pictures and posts.
Have fun!


